

Learning to Carve - Pt 5 – Polishing
Polishing, Buffing and Finishing
After the sanding is completed, it is time to polish the bone carving. Every carver will have their own tricks and methods and there is no one right way. I use two polishing compounds and one buff. I have heard of others that use toothpaste as their polishing compound!
While you can get small buffing attachments for your drill, it is much easier to use a buffing motor (bench polisher). You can either purchase a standard one at your local hardware store, (this sort of machine often doubles as a grinder), or you can buy a more specialised machine at a jewellery-suppliers called a buffing motor. Prices vary, and you would be surprised at how cheap you can pick one up from either type of outlet.
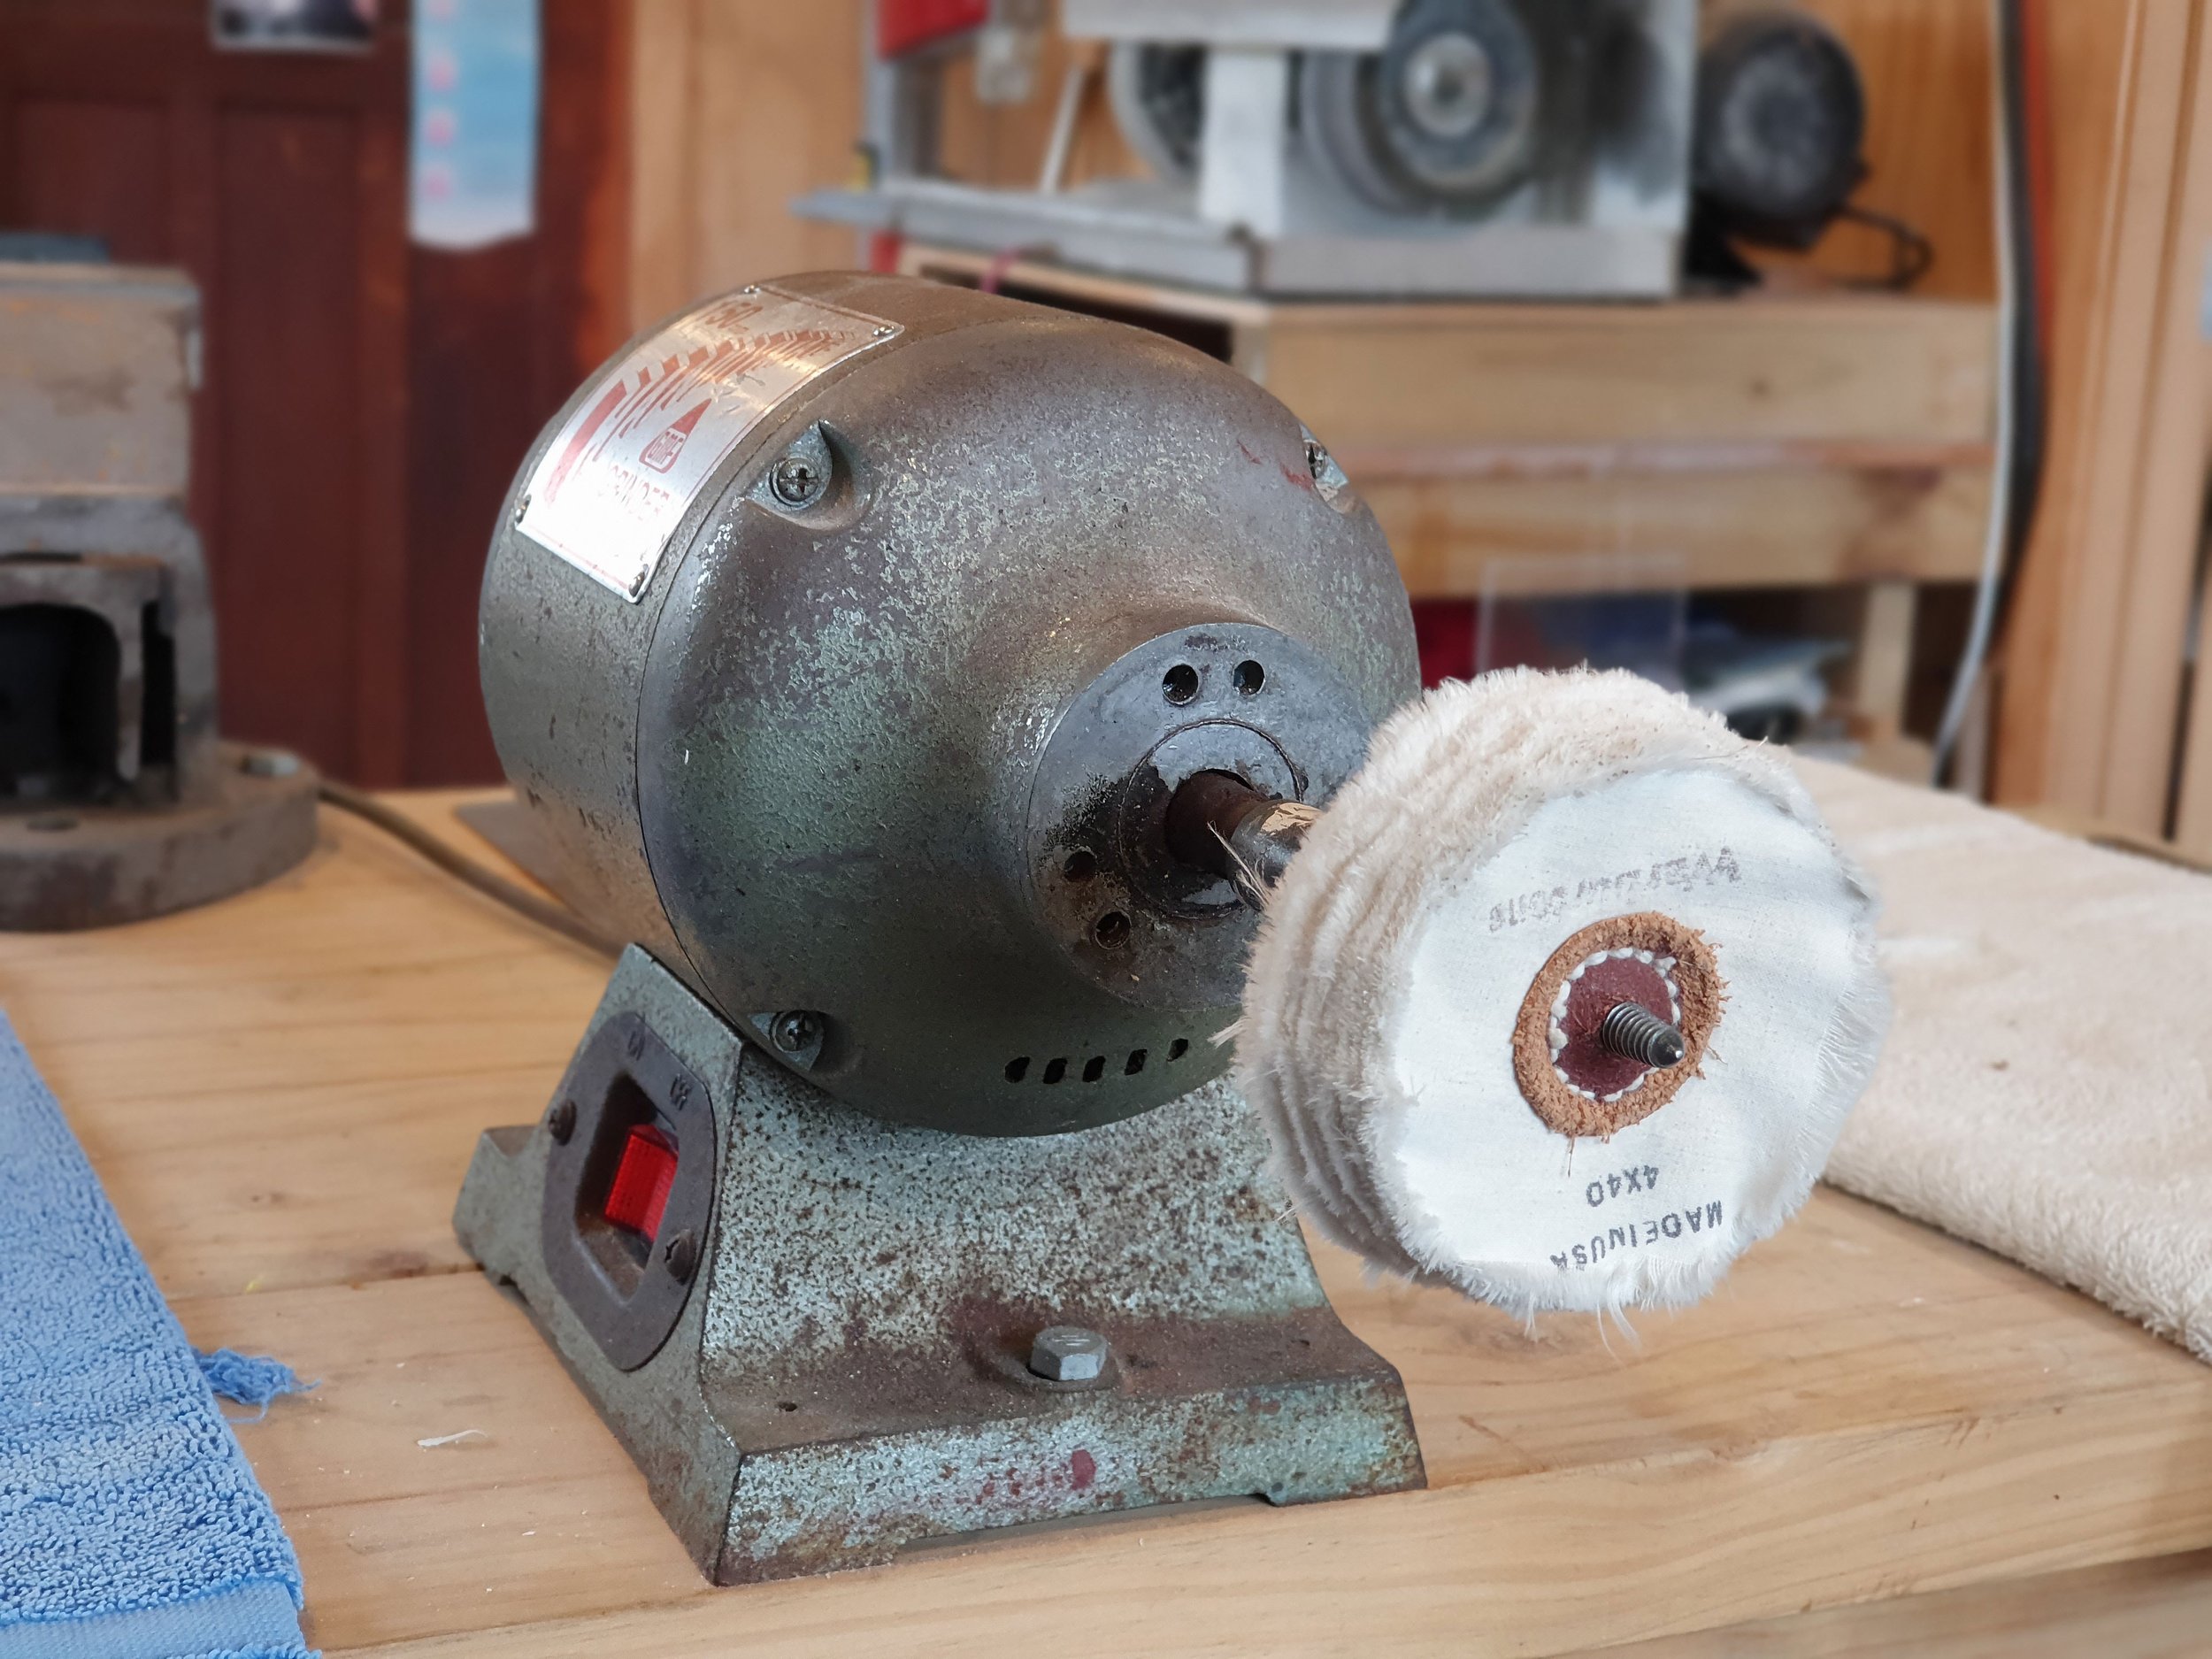
My ancient machine just keeps on going… It was old when I got it 35 years ago!
The reason it is easier to use a buffing motor compared with small buffs that you attach to your drill, is that the buffing wheels are larger. This means that they are less likely to catch the carving and fling it off at 90 miles an hour. When this happens, you might find it halfway across the workshop in several pieces, broken after bouncing off the concrete wall or floor. Not to mention the health and safety aspect of having projectiles embedded into your eyeball. Not much fun.
Although in saying this, it is also a risk when using buffing machines. Trust me on this one! As such, I always make sure I wear safety glasses no matter how small the job. I highly recommend you do too. Your call.
Another great tip is to lay some carpet around where you are working. If/when you drop a piece that you are working on, carpet is a lot more forgiving.
This stage of the process will show up all the imperfections if the sanding stage has not been done well enough. If this is the case, you can go back and re-sand the areas that you missed then give it another polish.

Tripoli Polishing Compound

White Rouge Polishing Compound
The second finer or finishing grade I use is White Dialux polish. Be careful when purchasing your polishing compounds. They come in many different colours. The colours relate to their specific use and therefore they are not all the same. Both compounds come in a block. You can purchase pastes, but I have never used pastes for my work.
You can purchase these compounds from most jewellery suppliers. It’s easy to purchase them online as well and I have even seen them in places like Bunnings or Mitre10.
The Buffing Wheels
These come in many sizes and you can get stitched or non-stitched. The Stitched tend to be firmer and good when applying a bit of pressure to bring up that shine. The unstitched are softer to use and as the layers of cloth are unstitched, they tend to get into the nooks and small areas a bit better than stitched ones.

While I have a variety of them, the main ones I use are a small unstitched one for the Rouge (approximately 12cm in diameter). This gets into the small gaps and does a great job at covering the whole carving with compound.
The next one is a small unstitched buffing wheel about the same size but I have got one that has a bit softer material then the one I use for the Rouge. This is what I use to clean the compound off and Buff the carving with.
The buffing wheel that I use for the White Dialux is a stitched one around the same size as the others. The stitched is a lot firmer and good for applying a bit more pressure and really bringing up that final sheen.